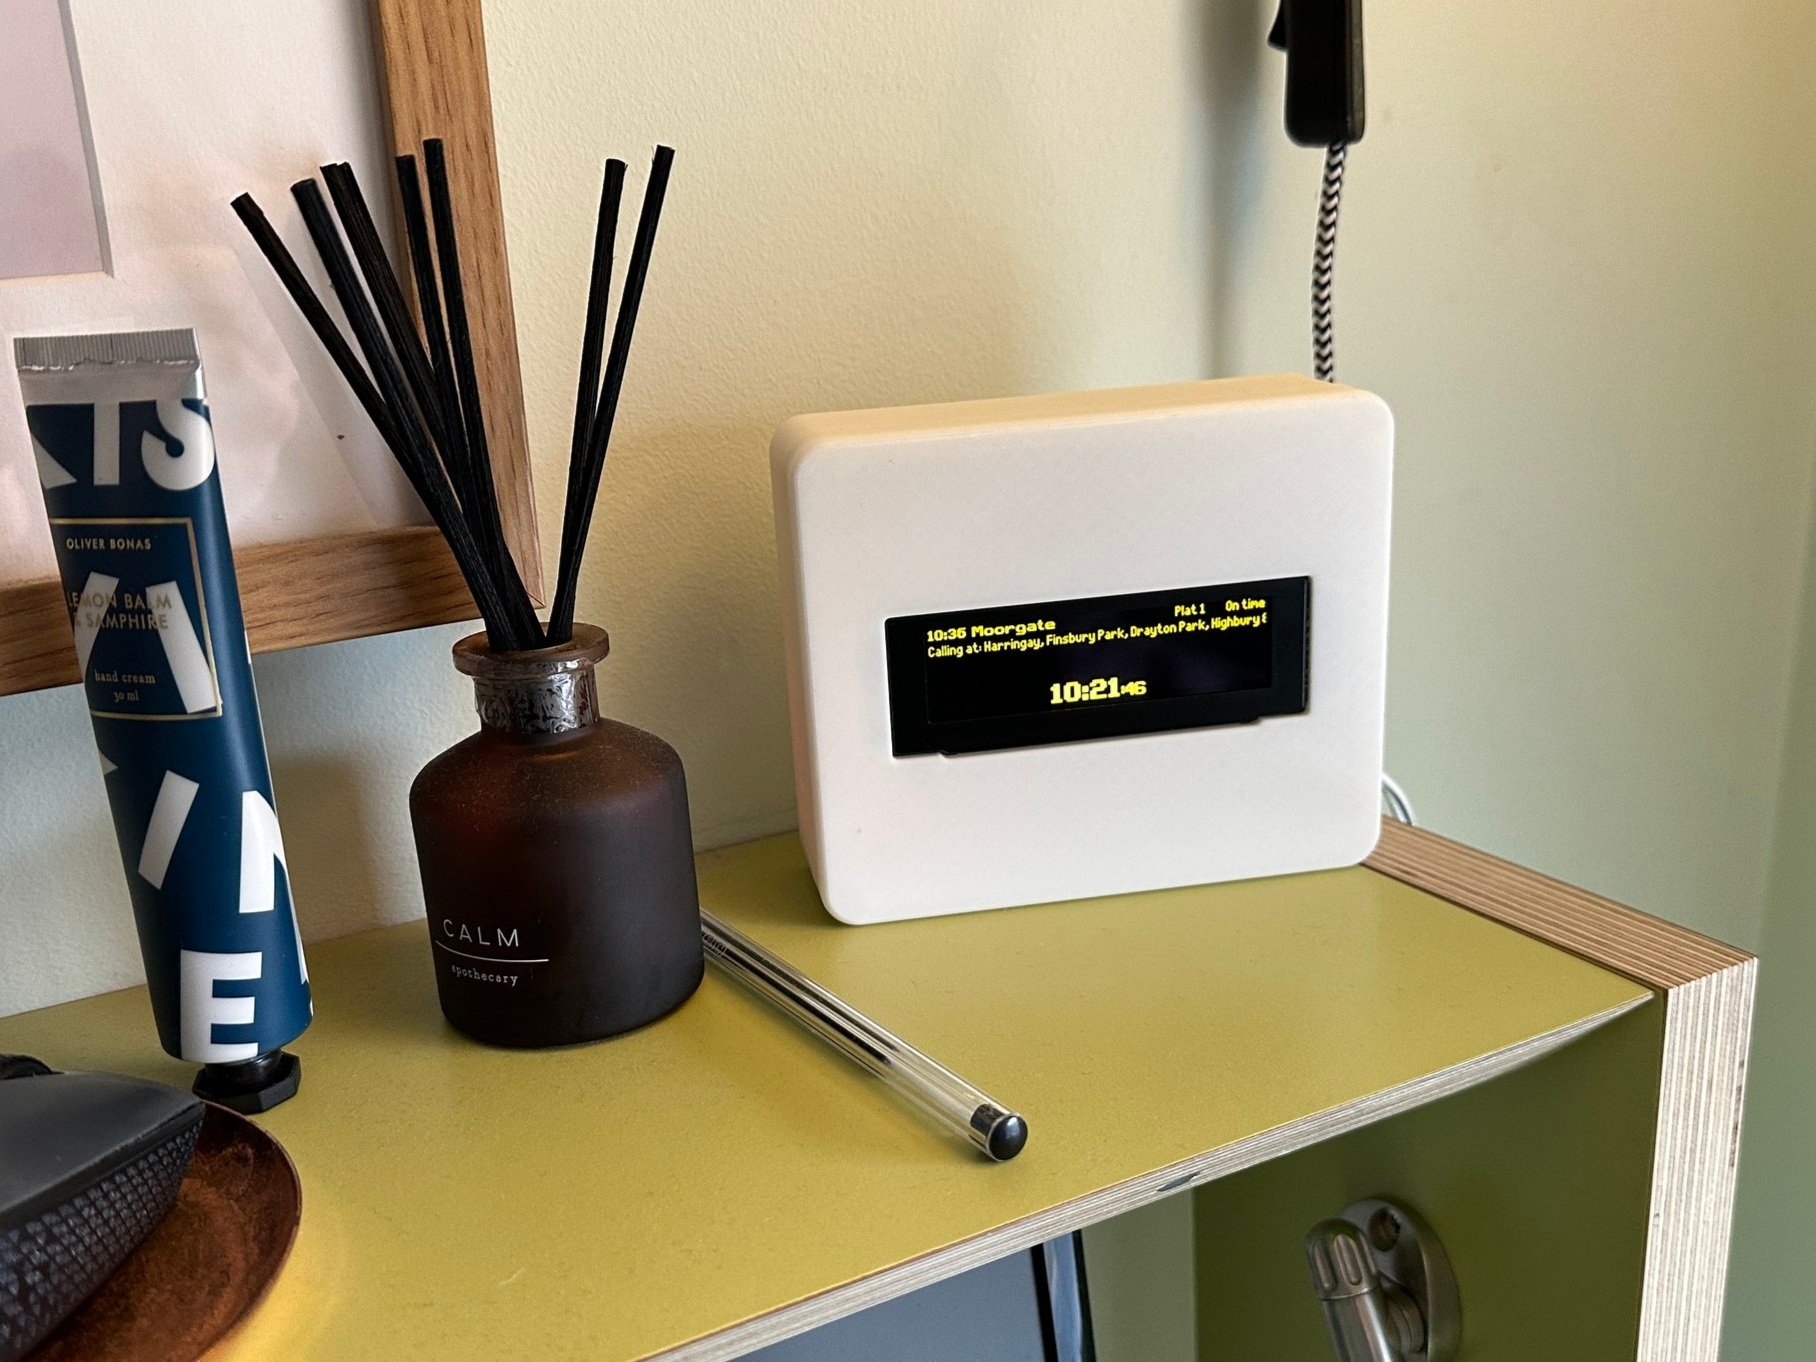
I built one of those live train station signs
If you live near a train station and regularly use the service, this project could improve your daily routine. Instead of constantly refreshing the unappealing National Rail app to see inevitable last-minute delays, you can just glance at a comforting screen showing the same information in a much more convenient way.
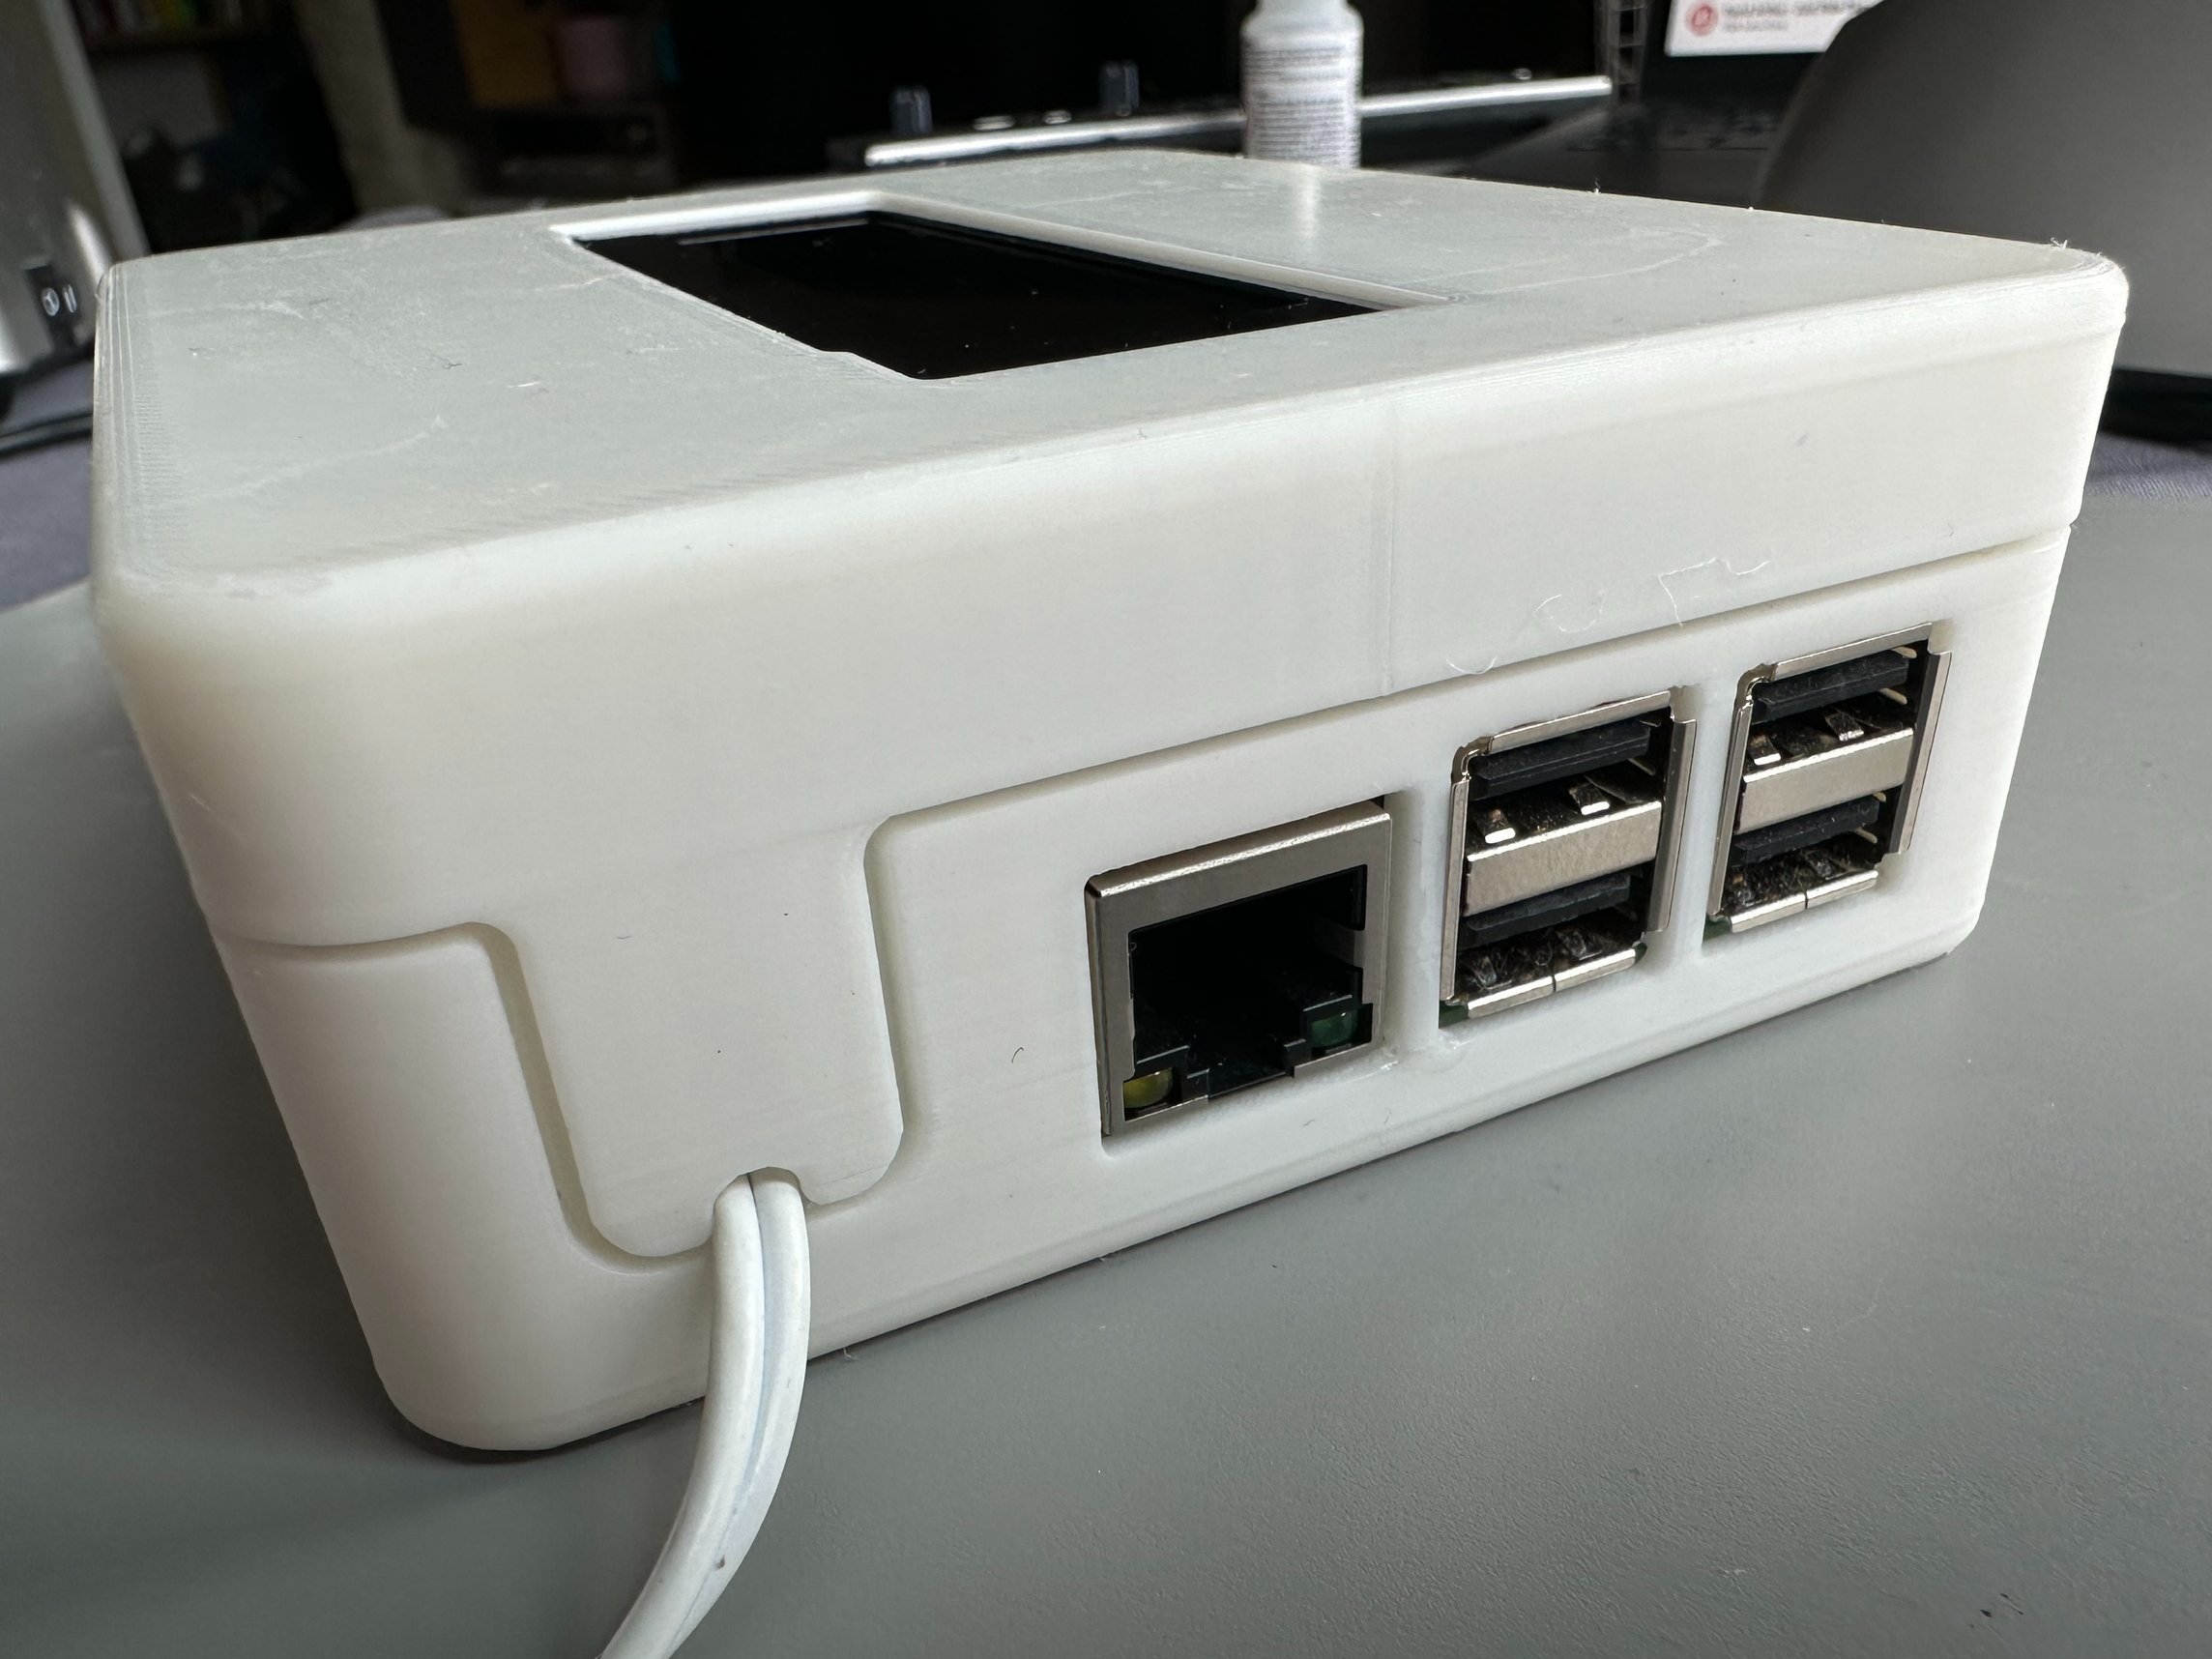
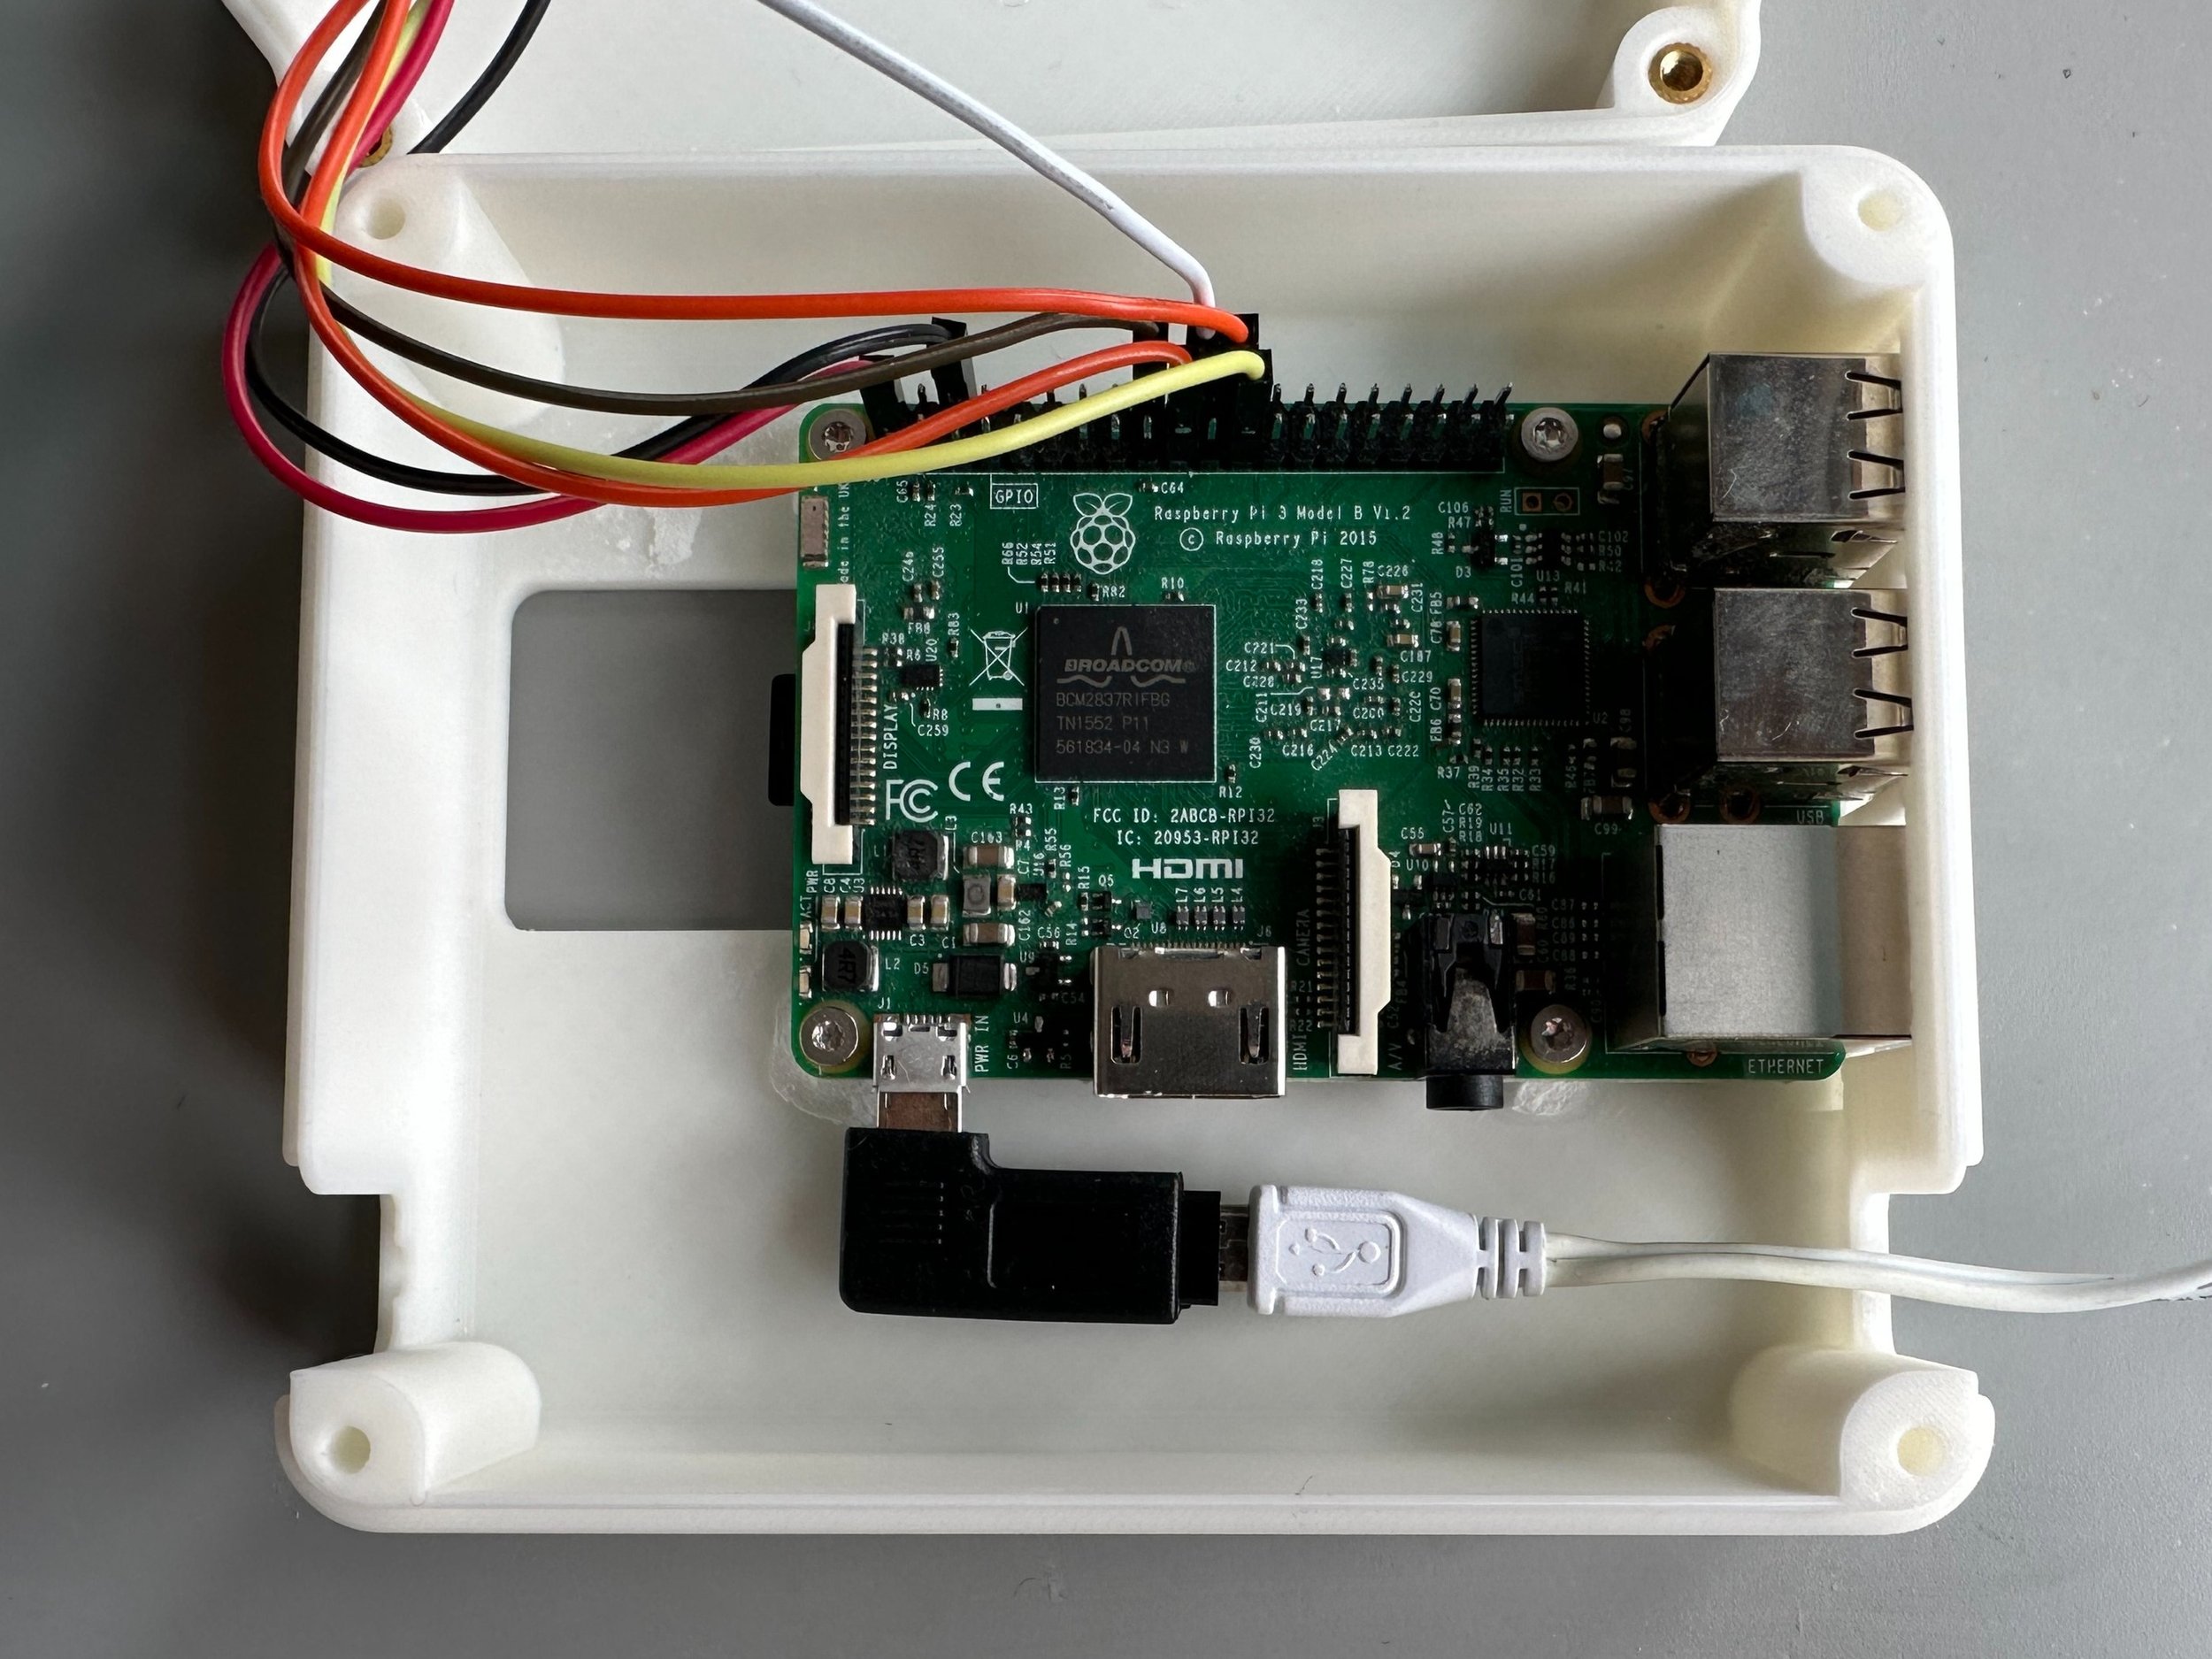
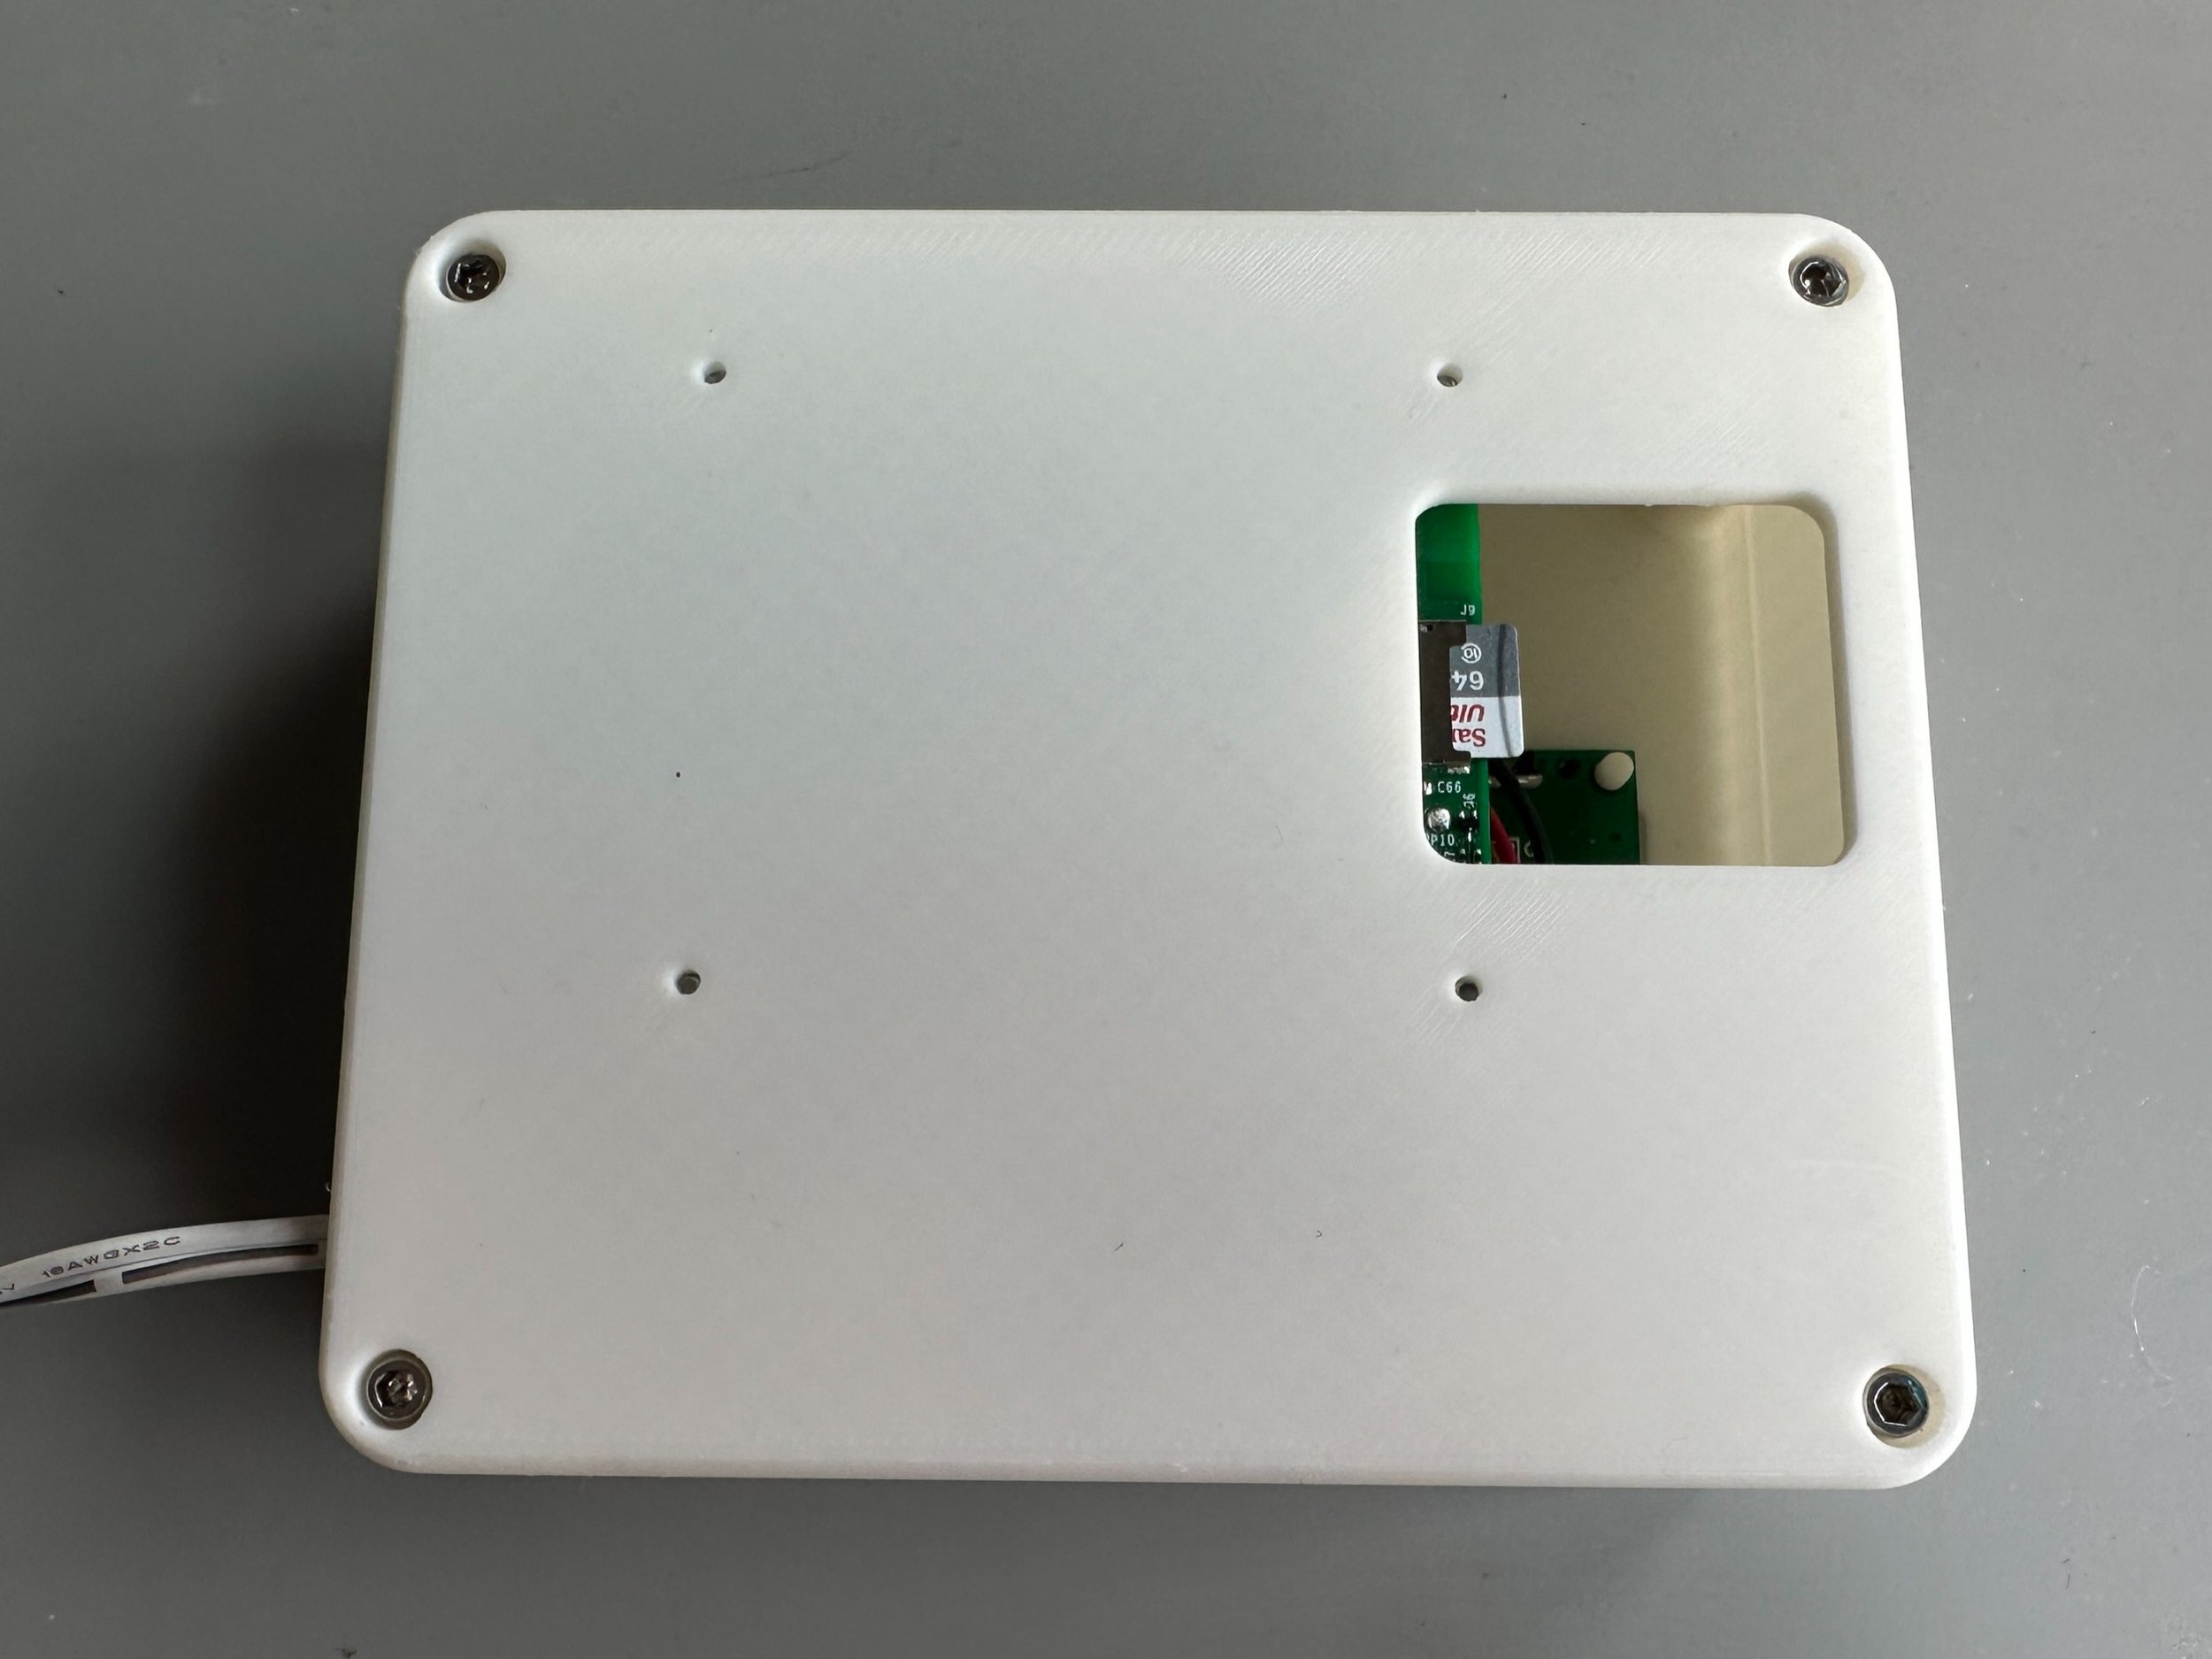
My only contribution to this project is a 3D printed enclosure, which makes it easier to integrate a full-sized Raspberry Pi, rather than the Pi Zero, which is notoriously difficult to get hold of right now. For everything else just follow this guide on the Balena Blog. No soldering skills or Raspberry Pi knowledge are necessary.

Enclosure designed in Solidworks
>>> Download the STEP, STL and 3MF files here <<<
If you already have a Raspberry Pi, access to a 3D printer, a USB cable, and an SD card, then all you need to buy is the approximately £30 OLED screen off eBay. That's much more affordable if you don't want to buy a commercially available version for £150.
Tweak the CAD files as you need. I used a right-angle micro USB adapter, but it's not necessary if the cable you're using has a short connector. Feed the cable out of either side depending on where you're mounting the sign. I was being somewhat lazy by not trying to make the enclosure as small as possible, but it still works well.