
How to Encapsulate Magnets in 3D Prints
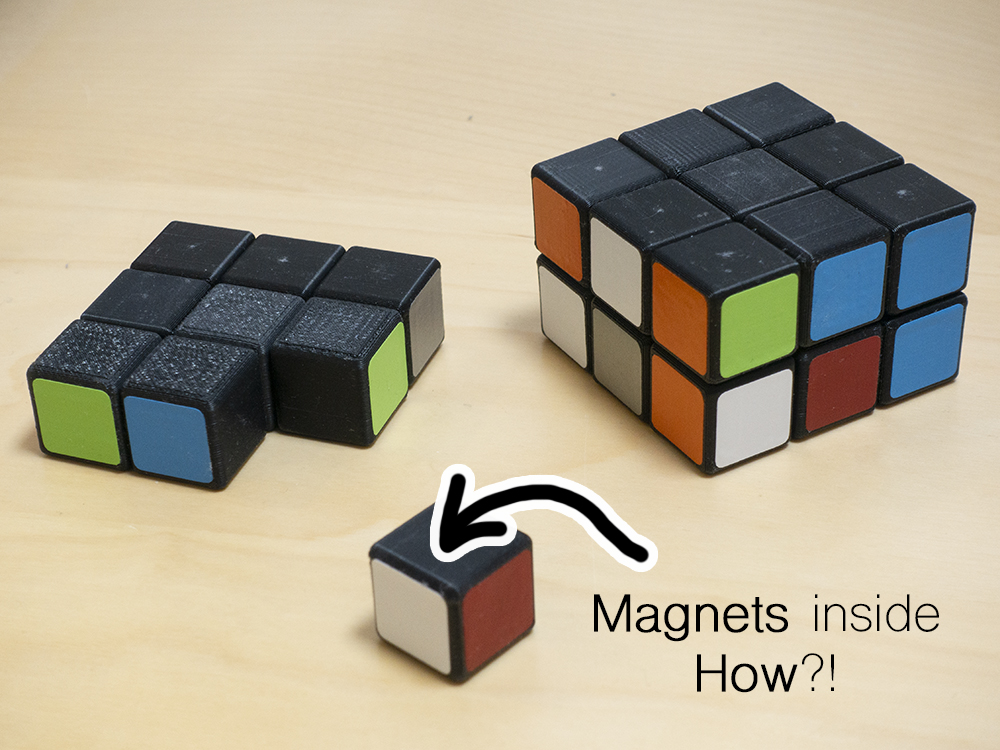
Create a magnetic rubix cube like this one but 3D print it instead! This works only on FDM/FFF printers because they allow you to pause on a layer, so you can drop in a magnet, then carry one printing over the top to encapsulate it within the cube!
Download the files - See which ones to use below
Comment, Contribute & Criticise on Thingiverse
Sign up to hear when I publish a new project
Currently I’m working on custom moulded in-ear monitors (earphones)
Why is this useful?
This is a demonstration to show how components like magnets, nuts and bolts can be dropped in mid print to improve your components. For example you can embed captive nuts that never escape or magnets for alignment in jigs and fixtures.
How does it work?

Take a look at the GIF on the right. It shows where to pause your print to drop in each magnet for the central cube, which has 6 magnets. You will need to pause the print 3 times at the top of the cavities.
Slice the cubes in your software and take a look at the number of the last layer before each cavity is filled in. This is the layer you tell the printer to pause on.
Once you drop the magnet into the cavity, ensure it does not stick up above the surface of the last layer
Resume the print so the magnet gets covered over on the next layer
Do the same for the tops of the other cavities until all the magnets are in place
What do I need?
Access to a FDM / FFF 3D printer which allows you to pause the printer on a set layer height
QTY x 12 - 12mm dia x 3mm thick neodymium magnets like these
QTY x 96 - 6mm dia x 3mm thick neodymium magnets like these
There are a lot of files, which do I use?
For each rubix cube you will need:
QTY x 1 - master_cube_XX
QTY x 6 - side_mid_XX
QTY x 12 - side_top_XX
QTY x 8 - corner_XX
There are different sets of cubes depending on how thin of a contour your 3D printer can produce. Ideally you want to use the smallest offset to reduce the distance the magnets are from each other. This done to maximise the attraction force between the cube faces. Remember in this case force is inversely proportional to the distance squared. Unlike the example cube I mentioned earlier, where the magnets are directly contact with one another. I’ve specified stronger magnets to help counter this issue.
For example if your printer can produce a 0.3mm minimum contour width, or single line of filament, use the 03 numbered files. Have a look at the GIF below to see the dimension we are minimising.
If you have a tiny nozzle diameter you might be able to print 0.1mm contour widths, this is preferable. With that being said these small magnets are STRONG so it will still work fine with the larger offsets.

How many magnets are in each type of cube?
x1 master_cube_XX = 6 magnets (all 12mm diameter)
x6 side_mid_XX = 5 magnets (x1 12mm dia, x4 6mm dia)
x12 side_top_XX = 4 magnets (all 6mm dia magnets)
x8 corner_XX = 3 magnets (all 6mm dia magnets)
Any tips?
Think about the polarity of the magnets and mark the positive and negative on each one. This takes time but is worth it.
You can print all the cubes in a single batch/print, but I would do a few at a time... if you get the magnets the wrong way around it can be frustrating.
Be careful when pushing in your magnets, you don't want to move your print bed or damage your printer! The magnets should drop in nicely without force.
If your print bed can relocate in exactly the same place after it's removed, you might be able to do this mid print to push the magnets in more easily.
Coloured stickers for the cube faces
Search for 'speed cube replacement stickers’, they should work fine, alternatively cut your own by hand.
I was lucky by having access to a vinyl cutter, which can cut out shapes from sticky back vinyl. This explains the non-traditional colour mix in my cube as those were the only colours I had.